|
Front Door Makeover
|
For this project you will need:
A wooden letter (I got mine at hobby lobby)
A dark acrylic paint color(for the cracks in the crackle)
A lighter acrylic paint color to overlay
Crackle medium
Clear sealing spray (to waterproof the finished product)
Paintbrushes
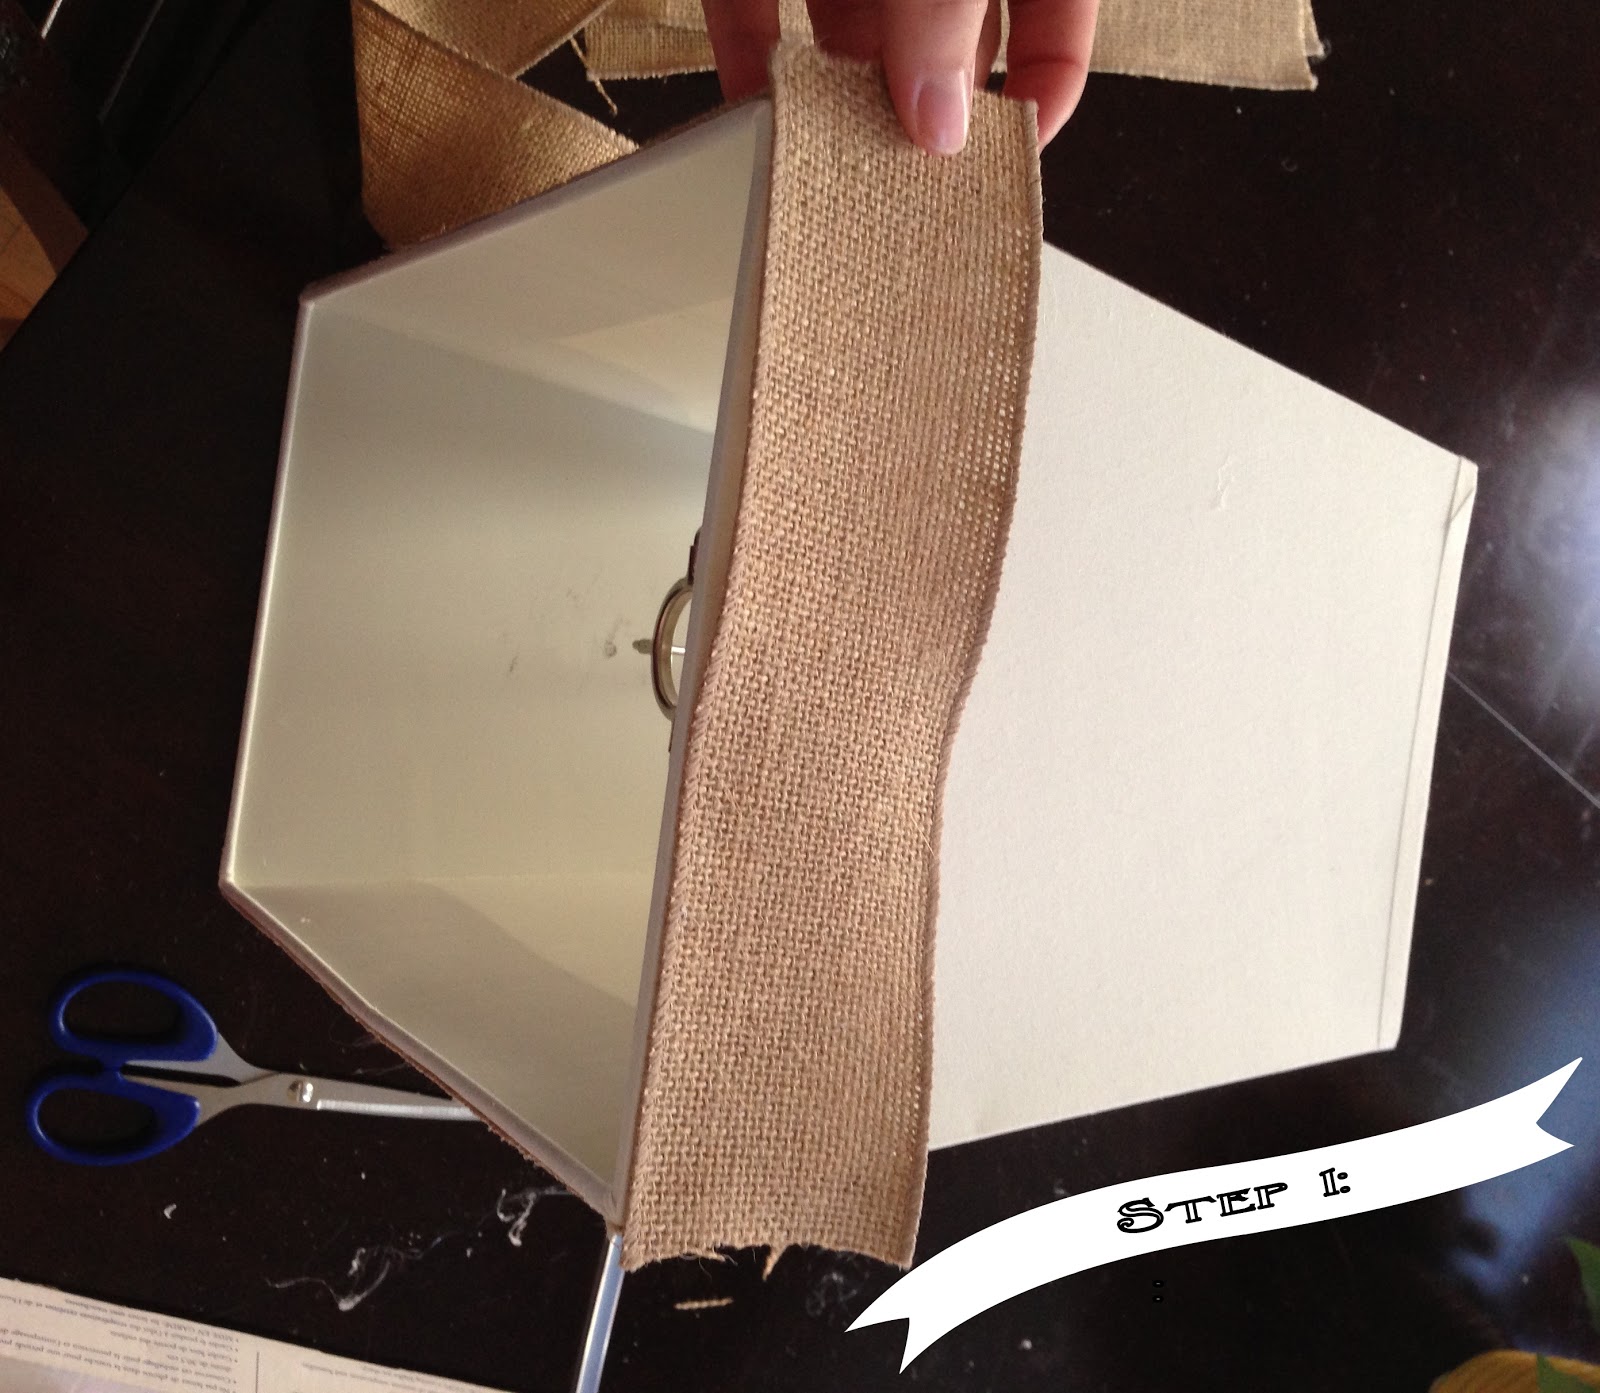
Burlap Ribbon
BEFORE YOU BEGIN! Watch
this video, I had no idea where to start with crackle medium.
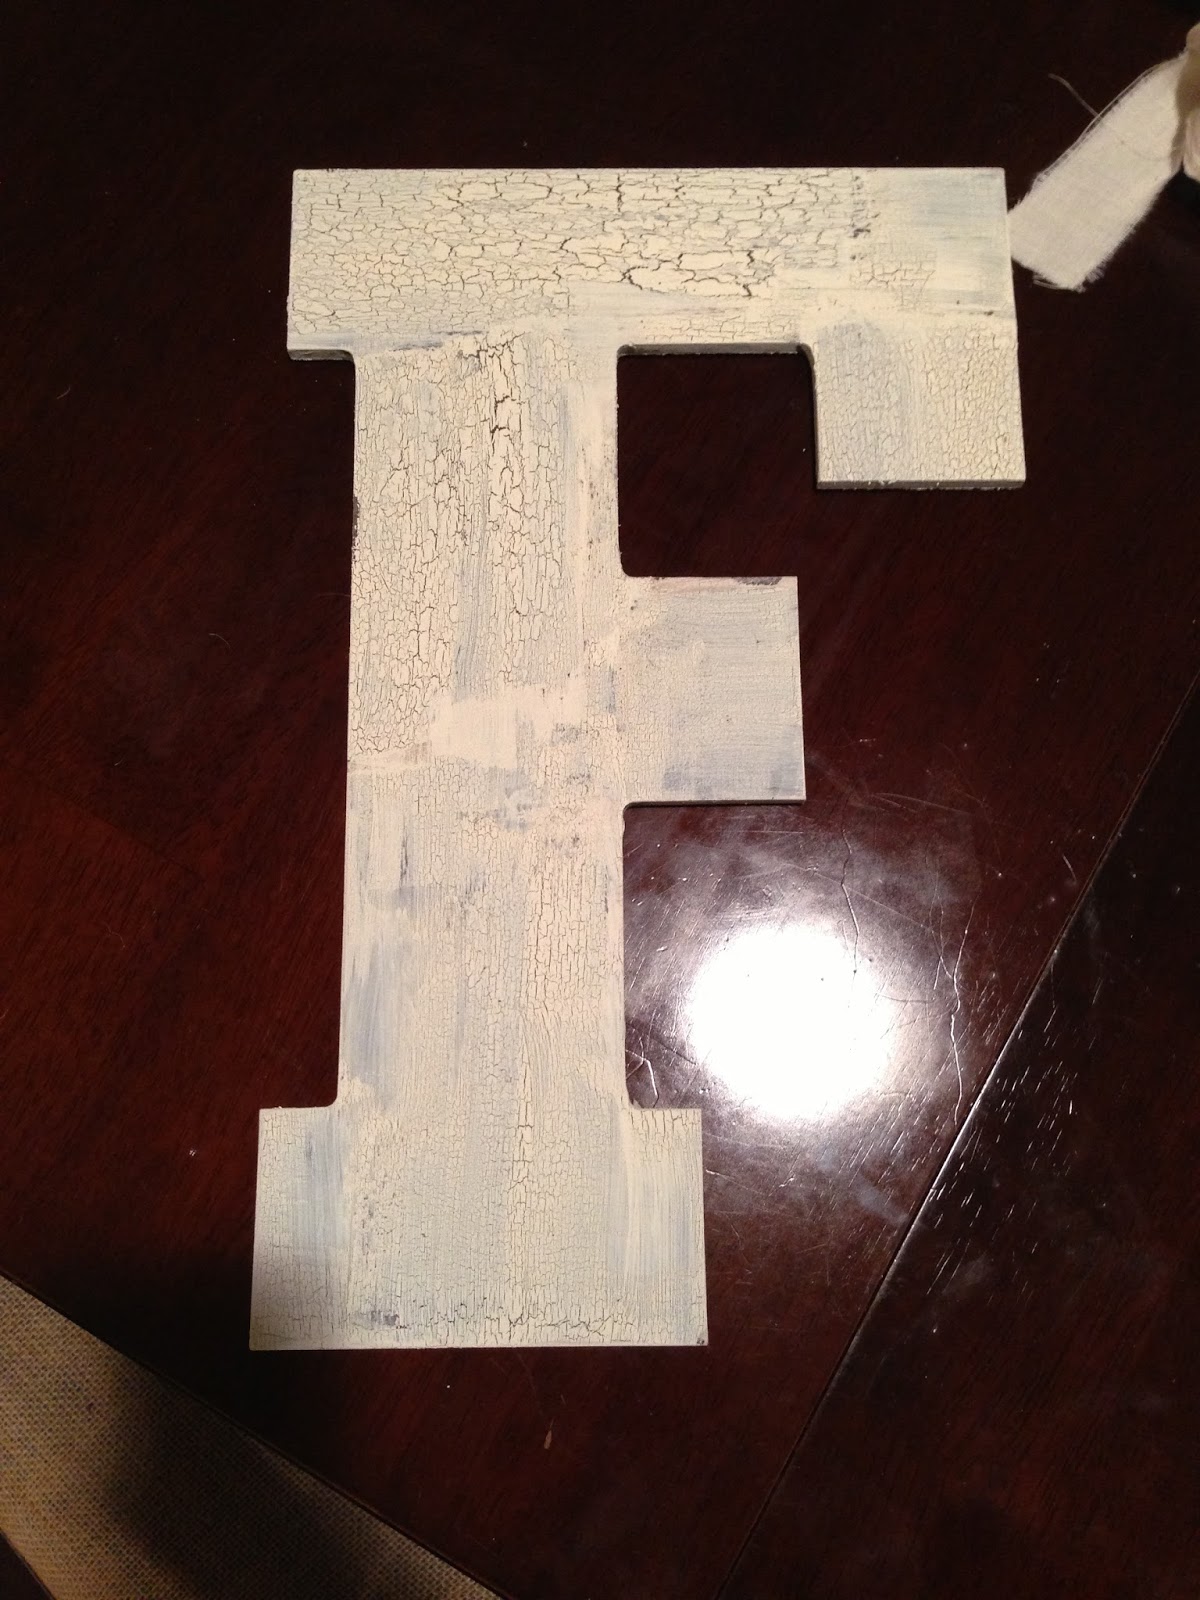
Begin by painting your base color onto the letter.
I used Martha Stewart "Vanilla Bean".
It is VERY important to let every layer dry COMPLETELY before painting the next.
Next use Folk Art Crackle Medium and paint generously, don't glob it on, however don't go too light or you won't get the desired crackle effect.
After letting the crackle medium dry completely, paint on the top color, I used Folk Art "Vintage White".
It is VERY important to go evenly and with the grain or it will not crackle properly, also, do NOT go over spots if you "miss" them or your crackles will fill in.
To waterproof your letter (if you plan on hanging it outside), use a clear sealing spray. I used Krylon Matte Finish because I didn't want a glossy sheen distracting from the antique finish.
After the Matte Finish dried, I finished off the letter with a burlap bow.